Description
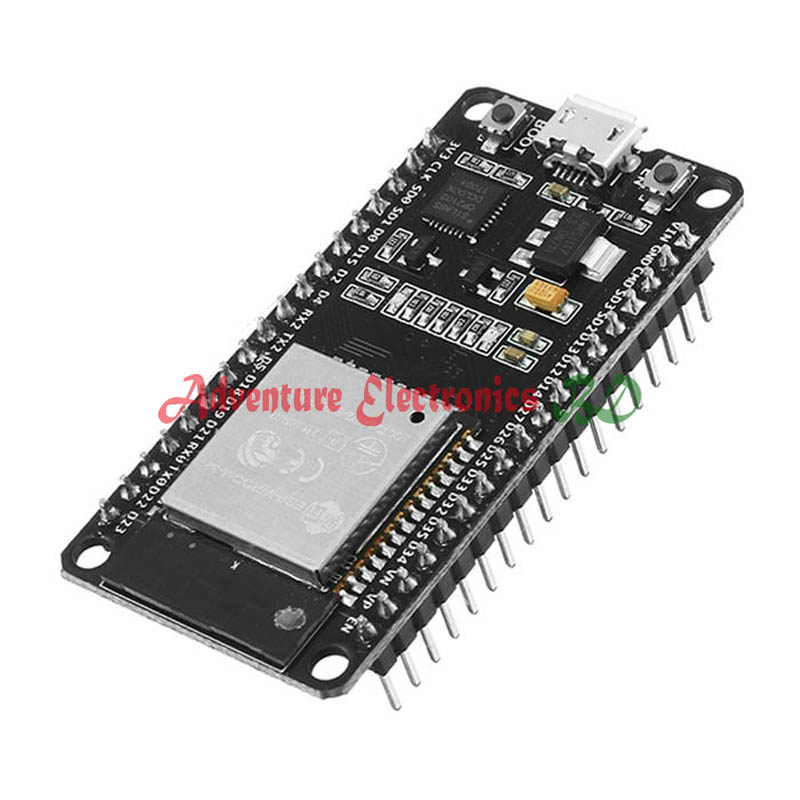
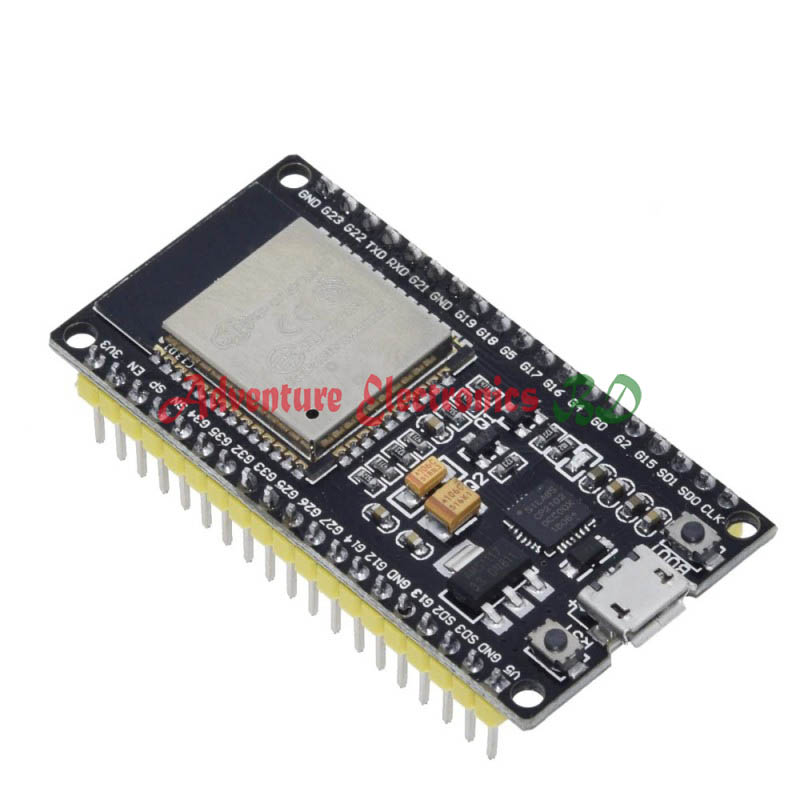
ESP32 IS a modern microcontroller from Espressif Systems, which was released recently (2016). It has very immodest features:
– Dual-core 32-bit processor, operating at a frequency of 80, 160 or 240 MHz (well, plus another energy-saving core with a reduced set of commands and at a frequency of 32 KHz)
-520 KB RAM
-448 KB of flash memory (actually there are more, will be discussed further)
– Power Supply 2.2-3.6 V
-Optional external flash-memory 4-16 MB (what I was talking about earlier)
– Wi-Fi 802.11 n with a maximum speed of 150Mbps
-4.2 BT BR/EDR and Low Energy
– ADC 12-bit X18
-DAC 8-bit x2
– Built-in temperature sensor
-SPI x4
-I2S x2
-I2C x2
-UART x3
– Ethernet controller
-CAN 2.0
– Infrared controller, and, both for reception and transmission
– PWM on all ports like
– Built-in Hall sensor
– A bunch of peripherals for cryptography (cryptographers, hashes, gsch)
And so same energy consumption:
-When the Wi-Fi transfer 160-260 mA
-No Wi-Fi and BT 20 mA
– Soft sleep mode 0.8 mA
– Deep sleep mode 10 µa
-Hibernacja with the included kernel low energy consumption 5 µa
ACHTUNG! You will often encounter the word RTC when using ESP32. However, this is not a Real time Clock, but a low power core.
Installation
1. Download the Arduino IDE
2. Install Git from the site
3. Run Git GUI
3.1. Select Clone Existing Repository
3.2. In the Source Location write
https://github.com/espressif/arduino-esp32.git
3.3. In the Target Directory write
C:/Users / [USERNAME]/Documents/Arduino/hardware/espressif / esp32
3.4. Click Clone
4. Open the directory
C:/Users / [USERNAME]/Documents/Arduino/hardware/espressif/esp32 / tools
and run the file get.exe
5. Connect our Board
5.1. If the drivers themselves are not installed, then install the driver for CP210x (I had CP2102) from here
6. Run the Arduino IDE
7. Select the cost in the Tools > Board (Tools > Board) (I DOIT ESP32 DEVKIT V1)
8. Select the COM port to which the Board is installed
8.1. How to identify a port?
8.1.1. Open device Manager
8.1.2. Open the group “Ports (COM & LPT)”
8.1.3. Look the name of the device. There must be something like that among them
Meet ESP32, part 1: installing the Arduino IDE ESP32, arduino, instruction, first run, dinobot
COM7 – this is our port.
9. Select any example (for example, here)
10. Load by pressing Ctrl + U

